Use this article to edit or remove a Warehouse, Vendor Inventory List, Market List, or Vendor from your Solid Commerce account.
What we'll cover in this article:
- Editing or Deleting a Warehouse, Vendor Inventory List, or Market List
- Editing or Deleting a Vendor
- Related Articles
Editing or Deleting a Warehouse, Vendor Inventory List, or Market List
To edit a Vendor, but not the Vendor Inventory List within it, see the Editing or Deleting a Vendor section below.
1) Go to the Products menu -> Inventory Manager.
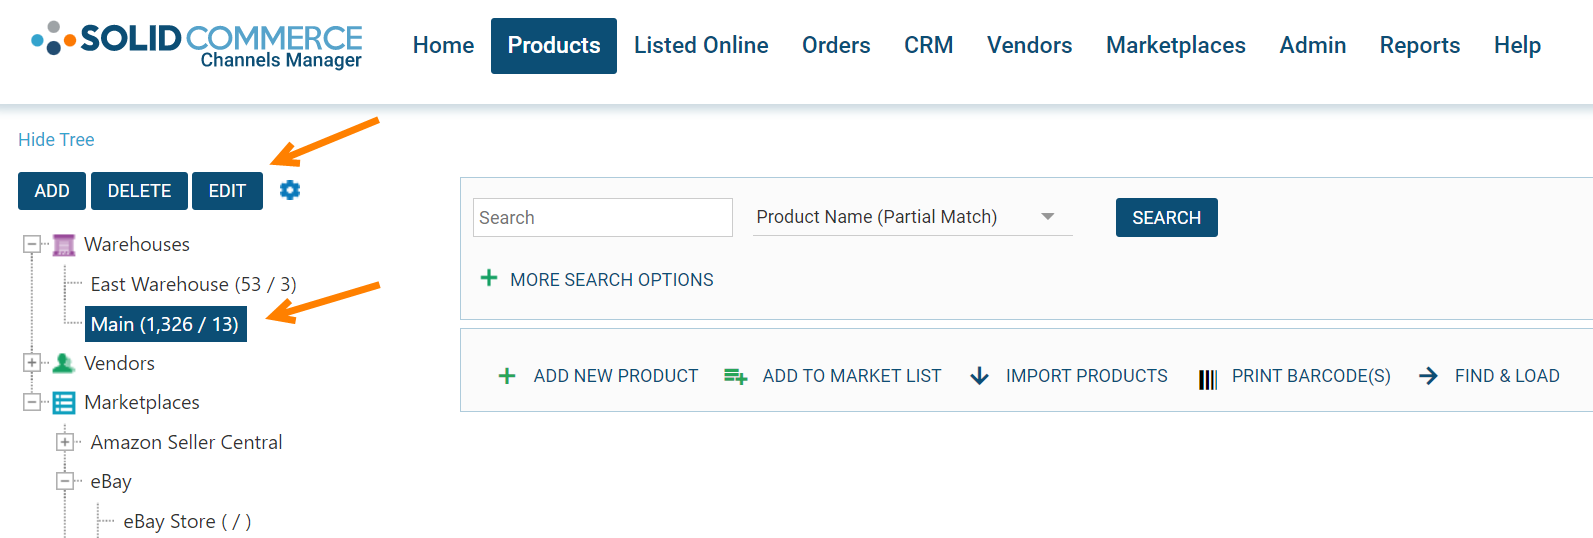
2) In the lists on the left side of the page, click the + signs until you can select the Warehouse, Vendor Inventory List, or Market List you want to change.
3) To edit what you've selected, click the Edit button above the folders.
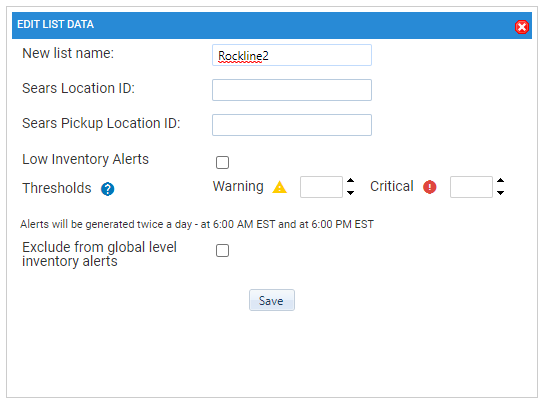
- In the popup window that opens (which may be different for editing different things), enter your changes.
- On a Warehouse or Vendor Inventory List, this is also where you can enter a Sears Warehouse Number. If you sell on Sears, and want more information about the Sears Warehouse Number, see our article Connecting to the Sears Marketplace.
- If you're editing a Market List, only revise your New list name. The three checkboxes are for specific inventory management functionality that is described in our pending article Matching Listings to Other Forms of Your Product.
- Click the Update Changes (or Save) button.
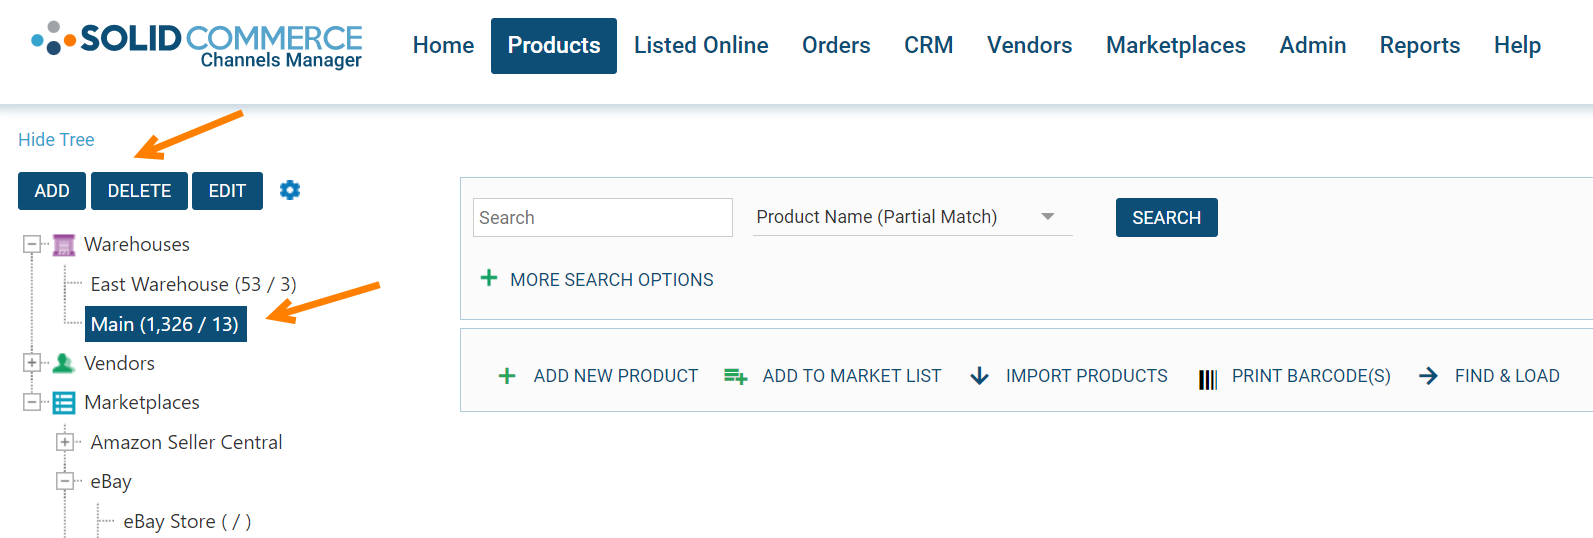
4) To delete your Warehouse or list:
- If the Warehouse, Vendor Inventory List, or Market List has products in it (indicated by numbers in the parentheses), follow the steps in Deleting Products to remove them. Be careful following those steps, so you don't accidentally delete a product from other parts of the platform.
- When you're done, be sure you have the right Warehouse, Inventory List, or Market List selected again.
- You can delete a Vendor the same way, if it has no Vendor Inventory List in it.
- Click the Delete button.
- A confirmation popup window will appear. You can click OK.
Editing or Deleting a Vendor
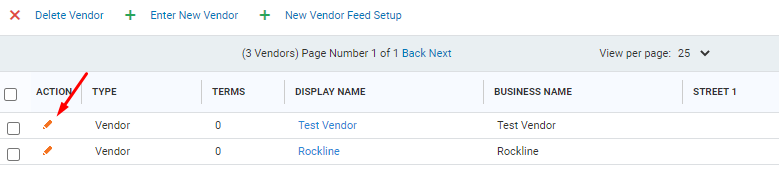
1) To view and edit your Vendor's details, you need to head to the Vendors menu -> Manage Vendors.
- Click on the Pencil icon to the left of your Vendor's name.
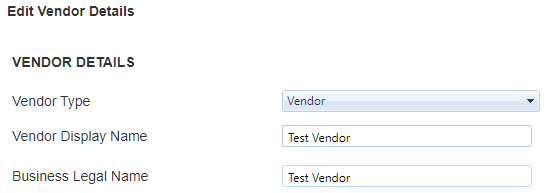
2) Make any changes in the Edit Vendor Details pop-up window.
- If you want to edit the Order Sync or Inventory Sync sections, these will be covered in our pending articles Automatically Sending Purchase Orders to Vendors and Syncing With a Vendor’s FTP Feed.
3) Click the Update Changes button at the bottom of the window.

4) To delete a Vendor:
- If it has a Vendor Inventory List, delete its products from the list (carefully following Deleting Products) and then delete the Vendor Inventory List as in the above section.
- Once the Vendor has no Inventory Lists, there are two places you can delete it:
- On the Inventory Manager page, by selecting the Vendor, and clicking the Delete button.
- On the Manage Vendor page, by checking the Vendor's box, and clicking the Delete Vendor button.
Related Articles
- Creating a Warehouse
- Creating a Vendor and Vendor Inventory List
- Creating a Market List
- Deleting Products
- Automatically Emailing POs to Vendors
Comments
Article is closed for comments.